Introduction
Knowing basic plumbing fixes is important for homeowners to handle common plumbing issues efficiently and save money on professional services.
This blog post aims to provide a comprehensive guide on beginner-level DIY plumbing fixes.
Importance of knowing basic plumbing fixes
Having knowledge of basic plumbing fixes empowers homeowners to address minor plumbing issues promptly, preventing them from escalating into more significant problems.
Common plumbing issues faced by homeowners
Homeowners frequently encounter plumbing issues such as clogged drains, leaky faucets, running toilets, and low water pressure.
Purpose of the blog post
This blog post intends to equip beginners with step-by-step instructions, tips, and precautions to handle these common plumbing problems effectively on their own.
By following the guidelines presented here, homeowners will gain the confidence to tackle small plumbing issues independently, saving both time and money.
Remember, it is essential to evaluate the complexity of a plumbing problem and, if uncertain, seek professional assistance.
Stay tuned for the upcoming sections where we delve into specific plumbing issues and their corresponding DIY fixes.
General Tips for DIY Plumbing Fixes
Importance of safety precautions
- Before starting any plumbing repairs, it is crucial to prioritize safety precautions at all times.
- Wear protective gear such as gloves and safety glasses to prevent injuries.
- Always make sure to turn off the electricity supply to avoid any potential electrical accidents.
- If working in a confined space, ensure proper ventilation to avoid suffocation.
- Keep children and pets away from the work area to prevent accidents.
- Follow the manufacturer’s instructions when handling chemicals or plumbing materials.
- If unsure about a repair, it’s always best to consult a professional plumber for guidance.
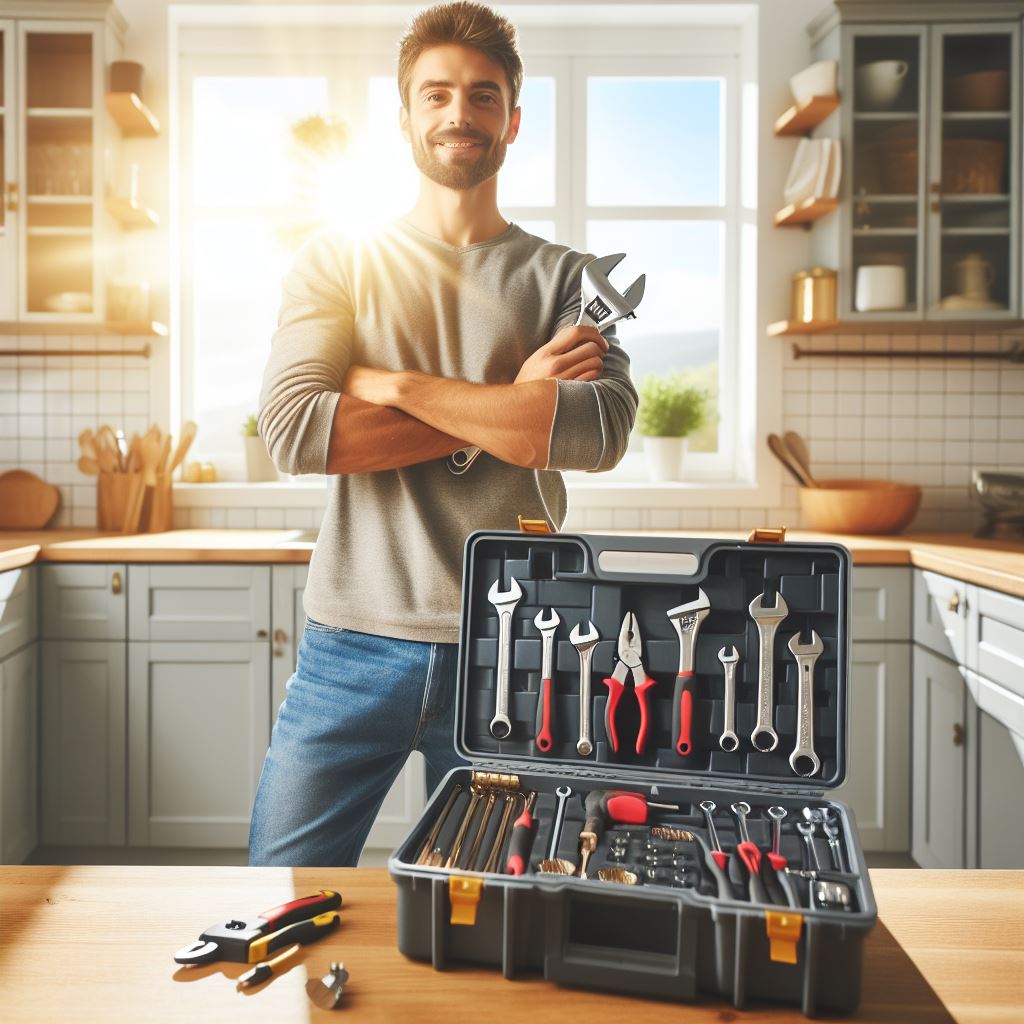
Tools needed for basic plumbing repairs
- Every DIY plumber should have a basic toolbox containing essential plumbing tools.
- A pipe wrench is necessary for tightening or loosening plumbing pipes and fittings.
- An adjustable wrench is useful for various plumbing tasks, such as tightening supply lines.
- A plunger is a handy tool for unclogging drains and toilets.
- A tape measure helps ensure precise measurements for accurate installations.
- A hacksaw or a pipe cutter is needed for cutting pipes to desired lengths.
- A basin wrench is crucial for tightening or loosening hard-to-reach faucet and sink nuts.
Know the location of the main shut-off valves
- Familiarize yourself with the location of the main water shut-off valve in your home.
- This valve controls the water supply to your entire house and should be accessible at all times.
- Knowing the location of local shut-off valves for specific fixtures can save you time during emergencies.
- These valves are typically found under sinks or behind toilet tanks.
- Regularly check that these valves are in good working condition to avoid any surprises.
Importance of turning off the water supply
- Before attempting any plumbing repairs, always remember to turn off the water supply.
- This step prevents unnecessary water damage and potential flooding.
- Locate the main water shut-off valve and turn it clockwise to shut off the water supply.
- If working on specific fixtures, such as a sink or toilet, shut off the local shut-off valve.
- After completing the repairs, remember to turn the water supply back on to restore water flow.
- Check for any leaks or irregularities in the plumbing system after turning the water back on.
By following these general tips, beginner DIY plumbers can tackle basic plumbing repairs with confidence.
Remember, always prioritize safety, have the necessary tools, know the location of shut-off valves, and turn off the water supply before getting started.
With practice and knowledge, you can save money and gain valuable skills in maintaining your home’s plumbing system.
Read: Ultimate Guide to DIY Wall Texturing
Fixing Leaky Faucets
Types of faucets and their common issues
- Compression Faucets: Common issues include leaky handles and dripping from the spout.
- Ball Faucets: Issues may include leaks around the handle and a leaking spout.
- Cartridge Faucets: Common problems are leaks from the handle and a dripping spout.
- Disk Faucets: Issues may include leaks from the spout and a loose handle.
Step-by-step guide to fixing a leaky faucet
- Turning off the water supply: Locate the shut-off valve under the sink and turn it clockwise.
- Disassembling the faucet: Remove the decorative cap, handle screw, and handle to expose the faucet mechanism.
- Replacing faulty parts or seals: Identify the problematic part and replace it with a new one.
- Reassembling the faucet: Put the faucet back together in the reverse order of disassembly.
Testing for leaks and ensuring proper function
- Turn on the water supply: Slowly turn the shut-off valve counterclockwise to allow water flow.
- Check for leaks: Look for any drips or water seepage around the faucet and handle.
- Inspect the spout: Ensure there are no leaks when the faucet is both on and off.
- Test the handle: Make sure the handle operates smoothly and there are no leaks when turning it on and off.
Fixing leaky faucets is a common DIY plumbing task that can save you money on water bills and prevent further damage.
By following these steps, you can easily repair most types of faucets and eliminate annoying leaks.
Repairing a leaky faucet doesn’t have to be complicated, and with the right tools and instructions, you can tackle this DIY plumbing project with confidence.
By understanding the common issues associated with different faucet types and following a step-by-step guide, you’ll be able to fix leaks and ensure proper functionality.
Remember to test for leaks after reassembling the faucet to guarantee a successful repair.
With a little effort and the willingness to get your hands dirty, you can become a DIY plumbing expert in no time.
Read: Innovative DIY Home Tech Installations
Unclogging Drains
Common causes of clogged drains
- Hair, soap scum, and dirt buildup
- Food waste, grease, and oil accumulation
- Mineral deposits and hard water residue
Different methods for unclogging drains
- Using a plunger
- Chemical drain cleaners
- Homemade remedies such as baking soda and vinegar
- Using a drain snake
Using a plunger
A plunger is a handy tool for unclogging drains, especially those in the kitchen or bathroom.
To use a plunger, make sure there is enough standing water in the sink or tub to create a seal.
Place the plunger over the drain and forcefully pump it up and down several times.
The suction created by the plunger should dislodge the clog, allowing water to drain freely.
Chemical drain cleaners
Chemical drain cleaners can be effective in dissolving tough clogs caused by hair, grease, or other organic matter.
However, these cleaners contain harsh chemicals that can be harmful to your health and the environment.
Always follow the instructions carefully and use protective gloves and eyewear when handling chemical drain cleaners.
Homemade remedies such as baking soda and vinegar
For a more natural and eco-friendly approach, you can use a combination of baking soda and vinegar to unclog drains.
Pour a cup of baking soda down the drain, followed by a cup of vinegar.
Cover the drain with a plug or cloth to prevent the mixture from bubbling out.
Let the mixture sit for about 30 minutes, then flush it with hot water to remove the loosened debris.
Using a drain snake
If the clog is located deeper in the drain pipe, a drain snake can be a useful tool for removing it.
Insert the drain snake into the drain and rotate it clockwise while gradually pushing it forward.
This will help break up the clog and allow it to be pulled out or washed away with water.
Tips for preventing future drain clogs
- Avoid pouring grease or oil down the drain.
- Use a drain strainer to catch hair and food particles.
- Regularly clean your drains using a mixture of baking soda and vinegar.
- Flush your drains with hot water regularly to prevent buildup.
- Consider installing a lint trap for your washing machine to prevent lint from clogging the drain.
By following these simple tips, you can keep your drains clear and avoid the hassle of dealing with clogs.
Remember, a proactive approach is always better than a reactive one when it comes to plumbing issues!
Read: Revamp Your Living Room: DIY Style Guide
Repairing Running Toilets
The cause of a running toilet
A running toilet is not only annoying but can also waste a significant amount of water.
Identifying the cause is the first step to solving this common plumbing issue.
Usually, the problem lies within the toilet tank, and a few simple steps can help you pinpoint the issue.
Diagnosing faulty parts in a toilet tank
Carefully remove the tank lid and observe the components inside.
The most common culprits are a malfunctioning flapper valve or fill valve.
Check for any visible damage, sediment buildup, or misalignments.
Step-by-step process of fixing a running toilet
Shutting off the water supply
Locate the shut-off valve near the base of the toilet and turn it clockwise until it is fully closed.
This prevents water from flowing into the tank while you work on the repairs.
Adjusting or replacing flapper valve or fill valve
If the flapper valve is deteriorated or misaligned, it may not be sealing properly, leading to a running toilet.
Adjust or replace it as needed.
Similarly, examine the fill valve for any issues and consider replacing it if necessary.
Testing the toilet for proper function
After making the necessary adjustments or replacements, turn the water supply back on by rotating the shut-off valve counterclockwise.
Allow the tank to fill and observe the flushing mechanism.
Ensure that the flapper valve closes properly, and the tank refills without any leaks.
Additional tips for toilet maintenance
- Regularly check for leaks and address them promptly to prevent water wastage.
- Clean the toilet tank components to remove any sediment or debris that may interfere with proper function.
- Consider using a dye tablet in the tank to check for leaks. If colored water appears in the bowl without flushing, there may be a silent leak that needs attention.
By following these simple steps, even beginners can tackle the common issue of a running toilet.
Taking the time to understand and address these plumbing concerns not only saves water but also helps you gain confidence in handling basic DIY repairs around the house.
Read: Small Space, Big Impact: DIY Storage Solutions
Handling Minor Pipe Leaks
Identifying signs of pipe leaks
- Water stains on walls or ceilings
- Damp or moldy odors in certain areas
- Dripping or hissing sounds behind walls
Temporary solutions for minor pipe leaks
Using pipe repair tapes
Wrap the tape tightly around the leaking area, ensuring full coverage.
Press the tape firmly and smooth out any wrinkles for better adhesion.
Applying epoxy putty
Mix the putty according to the instructions and apply it directly over the leak.
Smooth and shape the putty to create a tight seal around the damaged pipe area.
Steps to follow for permanent pipe repair
Shutting off the water supply
Locate the main shut-off valve and turn it off to stop the water flow.
Open a faucet to drain any remaining water in the pipes before proceeding.
Assessing the damaged pipe section
Inspect the damaged area and determine the extent of the pipe leak.
Check for any cracks, holes, or loosened joints that require repair or replacement.
Replacing or repairing the damaged pipe
If the damaged section is minor, use a pipe cutter to remove the affected area.
Install a new section of pipe or repair the existing one using appropriate fittings.
Testing for leaks after repairs
Reopen the main shut-off valve and slowly turn on the water supply.
Check for any signs of leaks or dripping water around the repaired area.
By following these steps, you can handle minor pipe leaks effectively.
Remember that temporary solutions should only be used as a temporary fix until permanent repairs can be made.
It’s important to address pipe leaks promptly to prevent further damage and avoid potential water waste.
If you have any doubts or the leak persists, it’s always best to consult a professional plumber for assistance.
Conclusion
In wrapping up our beginner’s guide to DIY plumbing fixes, it’s crucial to emphasize the significance of having basic plumbing knowledge.
Understanding how to handle minor plumbing issues can save you both time and money.
A leaky faucet or a running toilet may seem insignificant, but left unattended, they can lead to more significant problems down the line.
By equipping yourself with fundamental plumbing skills, you become a more empowered and self-sufficient homeowner.
Now that you’ve learned some essential DIY plumbing fixes, we encourage you to take the initiative when faced with minor plumbing problems.
Armed with the knowledge gained from this guide, you can confidently address issues such as a clogged drain, a dripping faucet, or a running toilet.
These tasks not only enhance your problem-solving skills but also foster a sense of accomplishment as you maintain your home.
Remember, tackling minor plumbing problems early on can prevent more extensive damage and the need for costly professional intervention.
With the right tools and a bit of patience, you’ll be surprised at how much you can handle on your own.
So, the next time you encounter a dripping faucet, channel your inner handyman and give it a go.
While DIY plumbing fixes are empowering, it’s crucial to recognize the limitations of your skills.
Complex plumbing issues, such as burst pipes, sewer line problems, or extensive leaks, require the expertise of a professional plumber.
Attempting to tackle these issues without the right knowledge can lead to further damage and potentially costly repairs.
DIY plumbing is an invaluable skill for homeowners, providing you with the ability to address minor issues independently.
However, always exercise caution and know when it’s time to call in the professionals.
By striking a balance between DIY fixes and professional assistance, you can maintain a smoothly running household and ensure the longevity of your plumbing system.